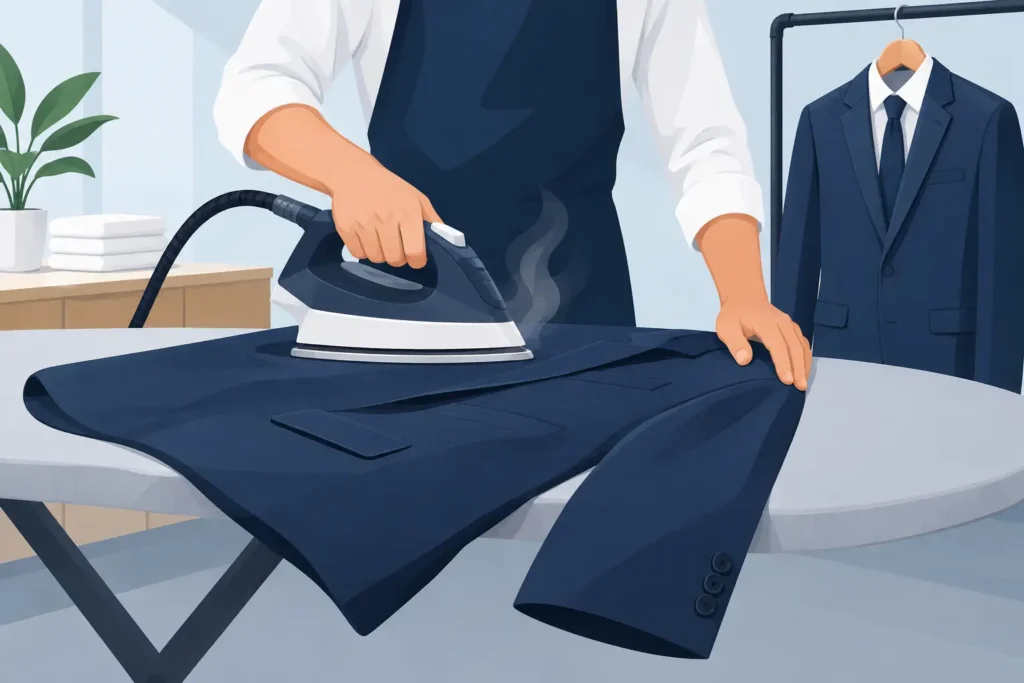
A suit can be clean and still look tired. Flattened lapels, a shiny seat, soft trouser creases and wrinkles around the sleeves can take the polish out of otherwise excellent tailoring. The best suit pressing techniques are less about pressing hard and more about using controlled heat, light steam and patience to protect the fabric while restoring its shape.
For busy Perth professionals, a quick touch-up before work or an event can make a real difference. But suits are structured garments, not everyday shirts. The wrong heat, too much pressure or an iron placed directly on wool can leave a permanent mark that is far harder to fix than a crease.
Start with the care label and fabric
Before heating the iron, check the suit’s care label. Many tailored jackets and trousers are made from wool, wool blends, linen, cotton or synthetic blends, and each responds differently to moisture and heat. A garment marked dry-clean only may still tolerate very gentle steaming between professional cleans, but pressing it heavily at home is a different matter.
Wool is common in business suits because it drapes well and releases wrinkles with steam. It also develops shine if an iron is pressed directly onto the surface. Linen creases easily and may need a little more moisture, while silk blends, velvet, acetate linings and delicate trims need particularly careful handling. When in doubt, test a hidden area first or leave the pressing to a garment-care professional.
Set your iron according to the fabric, not according to how stubborn the wrinkle looks. High heat can make a crease disappear quickly, but it can also scorch fibres, melt a synthetic blend or create an unwanted sheen. Starting low and increasing only when necessary is the safer approach.
Prepare a proper pressing surface
An ironing board with a smooth, padded cover is the best starting point. Avoid pressing a suit on a bed, table or bench covered with a towel, as the uneven surface can stamp seams, pockets and linings into the outer fabric.
Use a clean pressing cloth between the iron and the suit. A plain white cotton cloth, clean muslin or a lightweight cotton tea towel works well. The cloth protects the surface from direct heat and reduces the risk of shine. It also lets you use gentle steam where it is needed without soaking the fabric.
For sleeves and curved areas, a sleeve board is useful, though a tightly rolled towel can help in a pinch. The aim is to support the garment from inside so you do not press sharp lines into places that should remain rounded.
Best suit pressing techniques for jackets
A suit jacket should be pressed in sections, never hurried across like a school shirt. Empty the pockets, fasten no buttons and place the jacket flat with its lining smoothed out. If it has picked up dust or loose fibres, use a clothes brush first. Pressing over grit can push marks into the cloth.
Refresh the shoulders and collar with steam
The shoulders and collar are shaped parts of the jacket. Rather than placing the iron on them firmly, hover it just above the pressing cloth and release a small amount of steam. Then use your hand to gently reshape the area and allow it to cool on the board.
For the collar, press from the underside where possible. Keep the collar’s roll intact instead of flattening it into a hard line. If the collar is curling or holding odour, a light steam and a period of air circulation may help, but persistent issues can point to body oils or soil that require professional cleaning.
Press lapels without making them flat
Lapels are where many at-home pressing jobs go wrong. A lapel is designed to roll naturally from the collar to the button stance. Pressing straight over it can make it look lifeless.
Lay the lapel over a curved section of the board or a rolled towel. Place the pressing cloth on top, then use a light press-and-lift motion along the fold. Do not drag the iron. Work from the notch near the collar down towards the button, allowing the lapel to cool before moving it. This retains a soft, tailored roll rather than an artificial crease.
Treat pockets, seams and vents gently
Pocket flaps should be shaped by hand and lightly steamed, not ironed flat with force. If the jacket has patch pockets, press around their edges carefully so the pockets do not show through on the front.
Use only the tip of the iron through the pressing cloth around seams, vents and the area beside buttons. These details are easy to distort. Never iron directly over buttons, especially horn, shell, plastic or covered buttons, as heat can crack, mark or loosen them.
Handle sleeves one at a time
Slide one sleeve onto a sleeve board or rolled towel. Press with a gentle up-and-down action, rotating the sleeve as you go. Avoid creating a crease down the outer sleeve unless the suit was made with a defined sleeve crease, which is uncommon in modern business tailoring.
Pay attention to the elbow, where wrinkles often set in. Steam lightly, smooth the cloth with your hand and let the sleeve dry fully before hanging the jacket. Moisture held inside a sleeve can encourage new wrinkles as the fabric cools.
Press suit trousers with clean, deliberate creases
Trouser creases look sharp because they are aligned precisely from the hem to the top of the leg. Before pressing, turn the trousers inside out to check the lining, pockets and seams. If there are stains, deodorant residue or food spills, pressing can set them into the fabric. Cleaning should come first.
Begin with the waistband and pocket areas. Place the waistband over the narrow end of the board, cover it with the pressing cloth and press in small sections. Do not press over bulky pockets from the outside, as their outline can become visible.
For the legs, align the inseams and outer seams carefully so the original front and back creases sit exactly where they should. Press one leg at a time, beginning near the hem and working upwards. Lift and place the iron rather than sliding it, using a little steam through the cloth for wool or linen.
Take extra care around the knee and seat. These areas benefit from steam and a light touch, but strong pressure can create shine, particularly on dark wool trousers. If shine has already appeared, gentle steaming and brushing may lessen it, but complete removal is not always possible.
Let the suit cool before wearing or storing it
A freshly pressed suit needs time to set. Hang the jacket on a broad, shaped hanger that supports the shoulders, and hang trousers by the hems or over a trouser bar with the creases aligned. Give the garment at least 20 to 30 minutes to cool and dry before wearing it or putting it in a crowded wardrobe.
This step is easy to overlook when you are getting ready in a rush. Wearing a warm, slightly damp suit can cause wrinkles to return quickly, particularly around the elbows, knees and seat. A little breathing room helps the fabric keep its finish.
When professional pressing is the better option
At-home pressing is useful for small touch-ups, but it is not the answer for every suit. Structured jackets with fused or canvassed interiors, designer garments, vintage tailoring, silk blends, velvet, heavily lined formalwear and suits with stubborn shine are safer in experienced hands. The same applies when a suit needs cleaning as well as pressing, because heat can lock stains in place.
Professional pressing uses equipment designed to support the garment’s shape while applying measured steam and pressure. It is particularly valuable before weddings, interviews, corporate events and occasions where every crease matters. Petal Fresh Dry Cleaners can clean and finish suits with fabric-specific care, then return them ready to wear through convenient collection and delivery.
A good suit earns its place in your wardrobe through years of wear. Treat each press as a light reset rather than a battle with the iron, and it will keep looking composed long after the meeting, celebration or commute is over.